Dog Behavior, Dog Grooming, Dog Training Techniques, Pet Health and Wellness
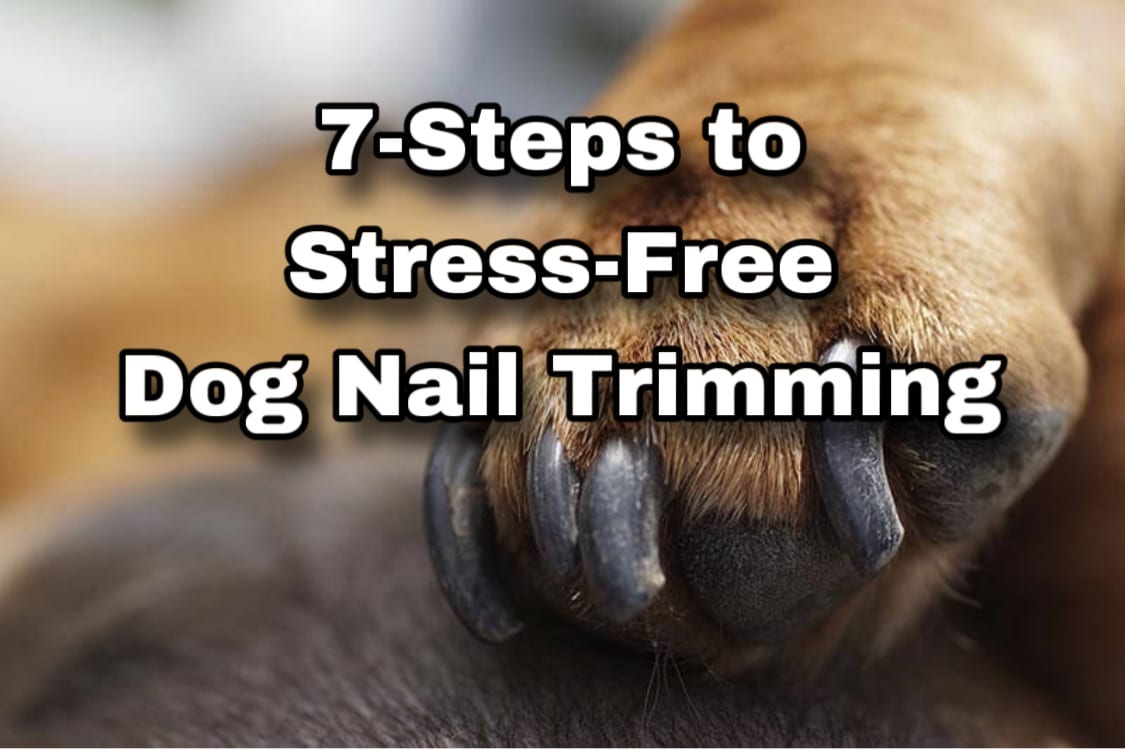
Mastering Dog Nail Trims: A Science-Based Guide to Desensitize & Counter-Condition Your Dog
Nov
How to Desensitize and Counter-Condition Your Dog for Stress-Free Nail Trims: A Comprehensive Guide
By Will Bangura, M.S., CDBC, CBCC-KA, CPDT-KA, FFCP (Dog Behaviorist), Certified Dog Behavior ConsultantIntroduction
Nail trimming is a necessary part of a dog’s grooming routine, but for many pet parents, it can quickly turn into a dreaded task. Whether it’s the loud cries, the pulling away, or the more severe symptoms like growling or attempting to bite, these are signs of a dog who is fearful, stressed, or potentially aggressive. This kind of situation not only jeopardizes the well-being of your furry companion but can also make the grooming process traumatic for everyone involved.
Before you resign yourself to a life of stressful nail trims, consider that there are science-based methods to ease your dog’s anxiety. Through a systematic approach, incorporating desensitization and counter-conditioning techniques, you can help your pet learn to associate nail trimming with positive experiences rather than fear or discomfort.
Preliminary Steps: Assessment and Preparation
Consult a Veterinarian
Before beginning any behavior modification program, consult a veterinarian to rule out any medical issues that may be contributing to your dog’s discomfort or pain during nail trims. Diseases like arthritis or paw infections can make the experience painful, intensifying the negative associations with nail clipping.
Consult a Certified Behavior Consultant
If you’re dealing with a severe case of fear or aggression, it may be beneficial to consult with a certified dog behavior consultant. They can provide specialized guidance, including real-time virtual consultations, to ensure you’re taking the most effective approach.
Secure Tools and High-Value Treats
Invest in a high-quality pair of nail clippers specifically designed for dogs. The type of treats you choose is also crucial. Opt for something irresistible like boiled chicken, cheese, or high-quality soft training treats. These should be bite-sized and easy to chew so that they can be consumed quickly during the training sessions.
Identify a Suitable Environment
Choose a quiet, non-distracting environment for your training sessions. The fewer the stimuli, the easier it will be for your dog to focus on the task at hand.
Step 1: Initial Desensitization
Introduction at a Distance
Start by presenting the nail clippers at a distance where your dog shows no signs of fear or aggression. Keep your energy calm and positive. As soon as your dog notices the clippers and remains relaxed, immediately offer a high-value treat and verbal praise.
Advance Slowly but Surely
Gradually reduce the distance between the clippers and your dog, taking care to maintain the dog’s comfort level. Continue to offer treats and praise as you reduce the distance. Patience is key; don’t rush this process.
Step 2: Counter-Conditioning – Associating Clippers with Positive Experiences
Peanut Butter Magic
Now that your dog tolerates the sight of the clippers, it’s time to level up the positive association with counter-conditioning. Smear a tiny bit of peanut butter on the handle of the clippers and allow your dog to lick it off. The goal is to make the dog associate the clippers with a highly rewarding experience. Repeat this a few times, always keeping an eye on your dog’s body language.
Short and Sweet Sessions
It’s tempting to push forward quickly, especially when you’re making progress. However, counter-conditioning is most effective when practiced in short, frequent sessions. Aim for 5-10 minute sessions multiple times a day, rather than a single prolonged period.
Step 3: Desensitization to Paw Handling
Gradual Touch
Begin by gently touching one of your dog’s paws for a second without holding it. Immediately offer a high-value treat and effusive praise. This step sets the stage for more involved paw-handling later on.
Time Increment
Gradually increase the duration for which you touch the paw, working up from a mere second to a few more. It’s crucial to consistently reward every positive interaction to cement the association between paw-handling and good experiences.
Step 4: Holding the Paw
Level 1 Holding
Once your dog is comfortable with you touching its paw, proceed to hold the paw for a brief moment, and immediately reward with treats and verbal praise. The first few times, the hold should be no more than a quick grasp and release.
Extend the Duration
Increase the holding duration incrementally, continuing to offer a treat and praise after each successful hold. The goal is to extend the time your dog allows its paw to be held without showing signs of discomfort or fear.
Step 5: Incorporating Clippers into the Equation
The Mock Clip
This is where the rubber meets the road. With your high-value treats at the ready, touch the clipper to one of your dog’s nails but don’t actually clip. This mock action helps the dog get used to the sensation. Reward the dog immediately with treats and praise.
Proceed to a Single Clip
Once your dog is comfortable with the mock clip, it’s time to attempt a real clip. Clip a tiny bit off a single nail and instantly reward your dog with treats and verbal praise.
Multiple Nails
If your dog shows no signs of distress or aggression after the first clip, you may proceed to clip additional nails, always offering a reward after each clip.
Step 6: Observation and Adjustments
Monitor Body Language
Always be observant of your dog’s body language for signs of stress, fear, or discomfort. Yawning, lip licking, and averting gaze can be subtle signs of anxiety.
It’s Okay to Go Back
If at any point your dog shows significant signs of stress, don’t hesitate to take a step back in the process. Sometimes a little regression is necessary for future progression.
Step 7: Maintenance and Regular Sessions
Consistency is crucial in maintaining the positive associations you’ve built. Conduct regular nail trimming sessions, even if it’s just one or two nails at a time, to ensure the positive associations are reinforced.
Conclusion
Desensitizing a dog to nail trimming is a slow process that requires patience, consistency, and a lot of positive reinforcement. By adhering to a systematic, science-based approach, you can transform nail trimming from a stressful ordeal into a routine grooming activity for your dog.
References
- Overall, K.L., Clinical Behavioral Medicine For Small Animals, Mosby, 1997.
- Friedman, S.G., “What’s Wrong with This Picture? Effectiveness Is Not Enough,” APDT Journal, 2008.